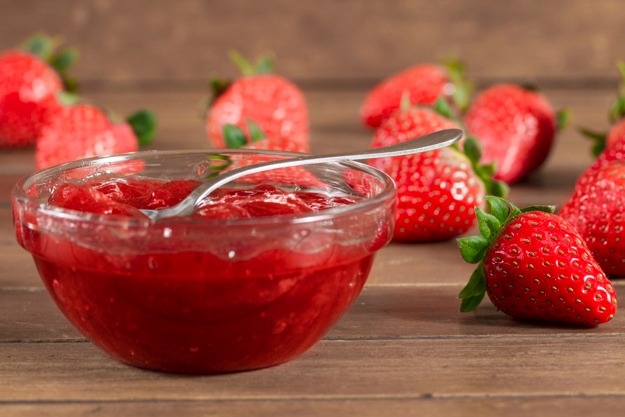
Homemade Strawberry Jam
20 Feb 2018 | 4 min Read
Anshu Bhojnagarwala (firsttimemommy)
Author | 67 Articles
Why you should make your own strawberry jam?
I am not a big fan of jams, but my daughter is. Since she likes it so much, we would get jams from supermarket. One day, I happened to notice that the store bought jam doesn’t have as much fruit as it would like us to think. That’s when I decided to make my own jam. When I was studying in Paris, I saw my roommates’ moms sending fresh strawberry, apricot, mulberry jams whenever they visited home in spring and summer. So, I knew it was doable. Those jams I tell you, even for a non-jam lover like me, absolutely loved it. I searched for a recipe online, and found it was very easy.
The best thing about this jam is that I give it to my daughter guilt free without worrying about the possible chemicals that would have gone inside.
Here it is:
1- Get 2 kgs good quality strawberries. I choose small red ones.
2- Cut the stems. It will leave you with roughly 1850 gms of strawberries.
3- Now, roughly chop them.
4- Put them in a deep bottomed pan, preferably a patili.

5- Add 350-400 gms of white sugar. Seasonal strawberries are sweet, hence you don’t need much sugar. However, if you have a sweeter tooth, you can go upto 500 gms.
6- Squeeze juice of 1 lemon.
7- Now, put this pan of strawberries on the gas. Keep on stirring every 10 mins. so as the sugar doesn’t stick to the bottom of the pan.

8- It takes approx. 2 hours to get the jam ready.
9- With a big spoon, remove the froth that collects on the top of the mixture.

10- Once all the water is evaporated, it will start bubbling and throwing tiny bubbles of jam. It’s an indication that your jam is nearly ready.
Remember, the jam will get thicker once it cools down. Pour in sterilized glass jars and refrigerate.

How To Sterilize Glass Jars?
Boil water in a huge pan for 20-25 mins. Once it has been boiling for 10-15 mins, put your glass bottles with the cap inside, turn off the gas, and cover the pan with a lid for 15 mins.
Once the water is warm, take out the glass jar with a clean pair of tongs or your fingers. Let it dry naturally upside down on a clean kitchen towel.
Things to remember:
- To check the consistency, drop jam from the spoon and see if it falls down in a thick blob. Another way is to put a spoonful of jam on your kitchen top. Once it cools down, make a line with your finger in it. If it fills up the space, you need to cook it longer, and if it doesn’t, it’s ready.
- You don’t need any artificial colours or preservatives. Sugar preserves your jam and the natural pectin from lemon juice helps thicken up the jam.
- This jam lasts for upto 1 year. However, many friends of mine have complained that theirs have a fungal growth after 3-6 months. I usually store the jam in big bottles, but fill small quantity for everyday use in small glass bottles. Once it is over, I refill in small bottle. The key is not to expose the jam to too much air.
Also read: A Shirt That Can be Eaten!
Explore the entire collection of articles: Fun Recipe
A


Related Topics for you
Suggestions offered by doctors on BabyChakra are of advisory nature i.e., for educational and informational purposes only. Content posted on, created for, or compiled by BabyChakra is not intended or designed to replace your doctor's independent judgment about any symptom, condition, or the appropriateness or risks of a procedure or treatment for a given person.
